


In this article I am going to explain how to create a realistic close-up.
1 . The first and most important thing to create any render is to have a story, and here we need to specify what we want to define and what our main goal is.
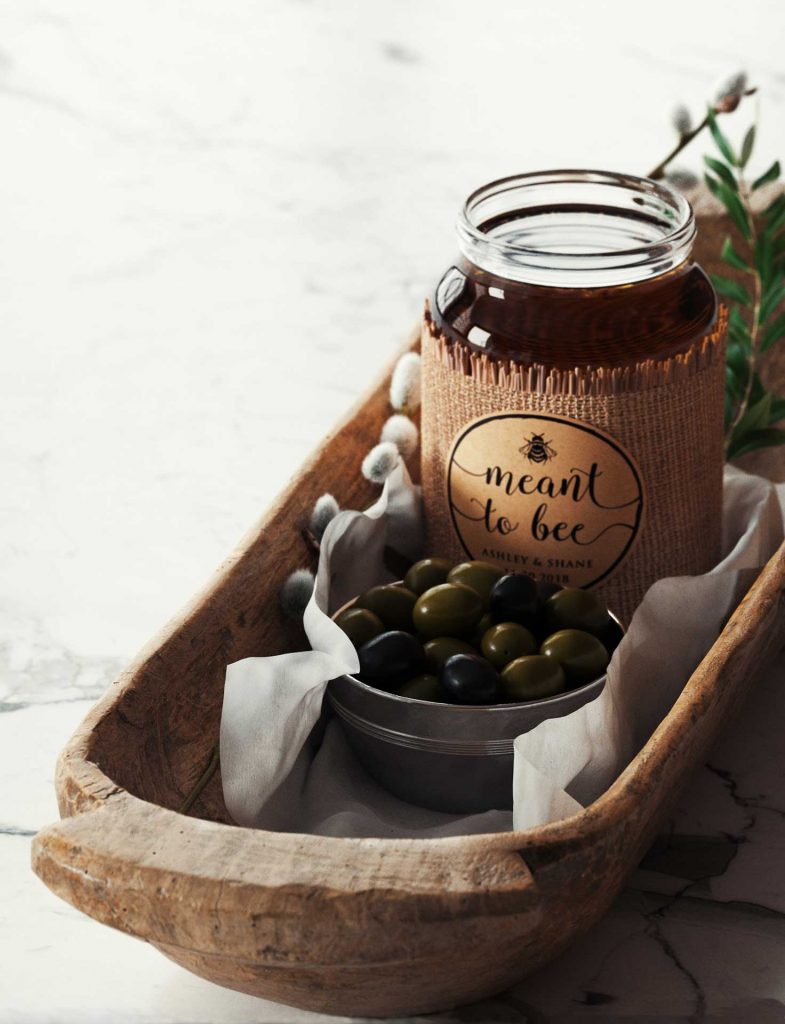
Here I am going to show a bowl of honey and olives.
One of the most important things that makes rendering so appealing to your audience is choosing the right image framing.
2 . To do this, I used 2 techniques “Rule of thirds” and “Golden Triangle”.
At this step, I want to create a story that I have defined in my mind and create it by modeling in 3d Max. Due to time constraints, we may sometimes want to use ready-made models.


3 . In this project, I used two ready-made models, the first is a wooden container that I downloaded with the help of the Quixel Bridge, and by changing the two textures of its material, I reached the final desired material, And the second one was a container of honey that I bought from the 3dSky site, which helped me a lot.
4 . This stage had different and interesting challenges for me. To make the olive seeds, I checked a few real olive seeds and set a clock to carefully check the type of material and the type of light reaction on it in the shade and sunlight. To be able to detect the exact behavior of light on the material.

5 . Then, with the help of SpeedTree software, I made a tree leaf and a willow tree branch.
6 . The main and effective challenge of the modeling stage is to make a model of a crumpled piece of paper that is placed in a wooden container and a container of honey and olives is placed inside it. To solve this problem, I used Marvelous Designer software and was able to create this paper model.


7 . After making all the models, it is working on the materials, making changes on the honey material, and working on the honey mat texture, the metal body used is the container of olives and the willow tree branch and the tree leaves and the white marble stone.
Note: All the materials I have created so far are 70% of the work, the rest will be final when placed in a suitable environment and real light to make final edits on them.


8 . Now I have to create the main environment in which I want to render this scene, here I have considered a room where one side is completely open and there is no wall and the other side has two large windows.

9 . I put the Vray lights behind the large windows, but the point is that to make the work very natural, I added a little dirt to the window material so that the light does not hit the objects too directly. And create a good fading state, and the light radiation is accompanied by a small amount of pollution, and it loses its sharp state.
I put white marble on the floor so that it looks like it is on the kitchen counter.
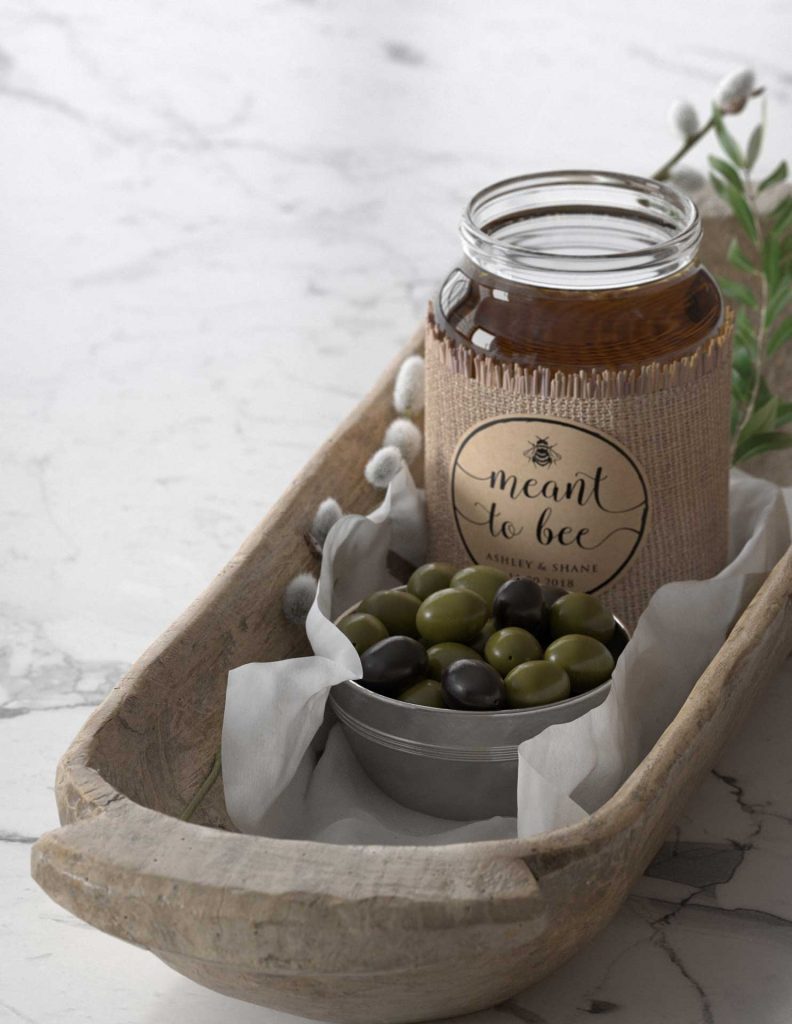
After all, this is done, I start rendering the tests and reach the final goal by editing the lights and materials.
The whole project took 33 hours from start to finish and the rendering of this scene with a resolution of 2165 by 2824 took exactly 182 minutes.
In the end, with the help of Photoshop software, and about 12 layers, I achieved the desired rendering in terms of color and exposure.