Introduction In the world of architectural visualization, few scenes captivate viewers like a perfectly rendered rainy day. This project focuses on the re-creation of a villa model originally provided by Render Camp. While their foundational model offered a strong starting point, I undertook a complete remodel of the building and landscaping to ensure accuracy and bring the scene closer to the essence of its original photograph. The goal was to capture the atmosphere of a post-rainstorm evening—wet asphalt, glistening surfaces, and the tranquil glow of sunset peeking through heavy clouds. This article delves into the challenges, techniques, and tools used to achieve this scene, with an emphasis on the features of the Corona Renderer.
1. Building The Model The model served as a solid base, but for this project, I opted for a full remodel. While their model was well-executed, achieving the level of photorealism required for this scene necessitated more precise detailing. From refining proportions to reworking materials, every step aimed to bridge the gap between the 3D model and the real-world structure. Their efforts provided inspiration, and this reimagining honors their foundational work.
2. The Challenge of Wet Asphalt Creating a realistic wet asphalt effect is one of the hallmarks of a rainy-day scene. In Corona Renderer, this involves leveraging features like reflection glossiness and bump maps. Here’s how I approached it:
Material Creation:
Started with a basic asphalt texture, ensuring the base color and bump details matched the real-world surface.
Used the “Reflection Glossiness” map to simulate uneven wetness—drier patches alongside puddles.
Adding Puddles:
Introduced a mask in the material editor to blend wet and dry areas.
Used a noise map to create random, organic puddle shapes.
Fine-Tuning:
Adjusted IOR (Index of Refraction) values to mimic how light interacts with water on asphalt.
This process, inspired by various YouTube tutorials, was crucial for achieving the immersive realism seen in the final render.
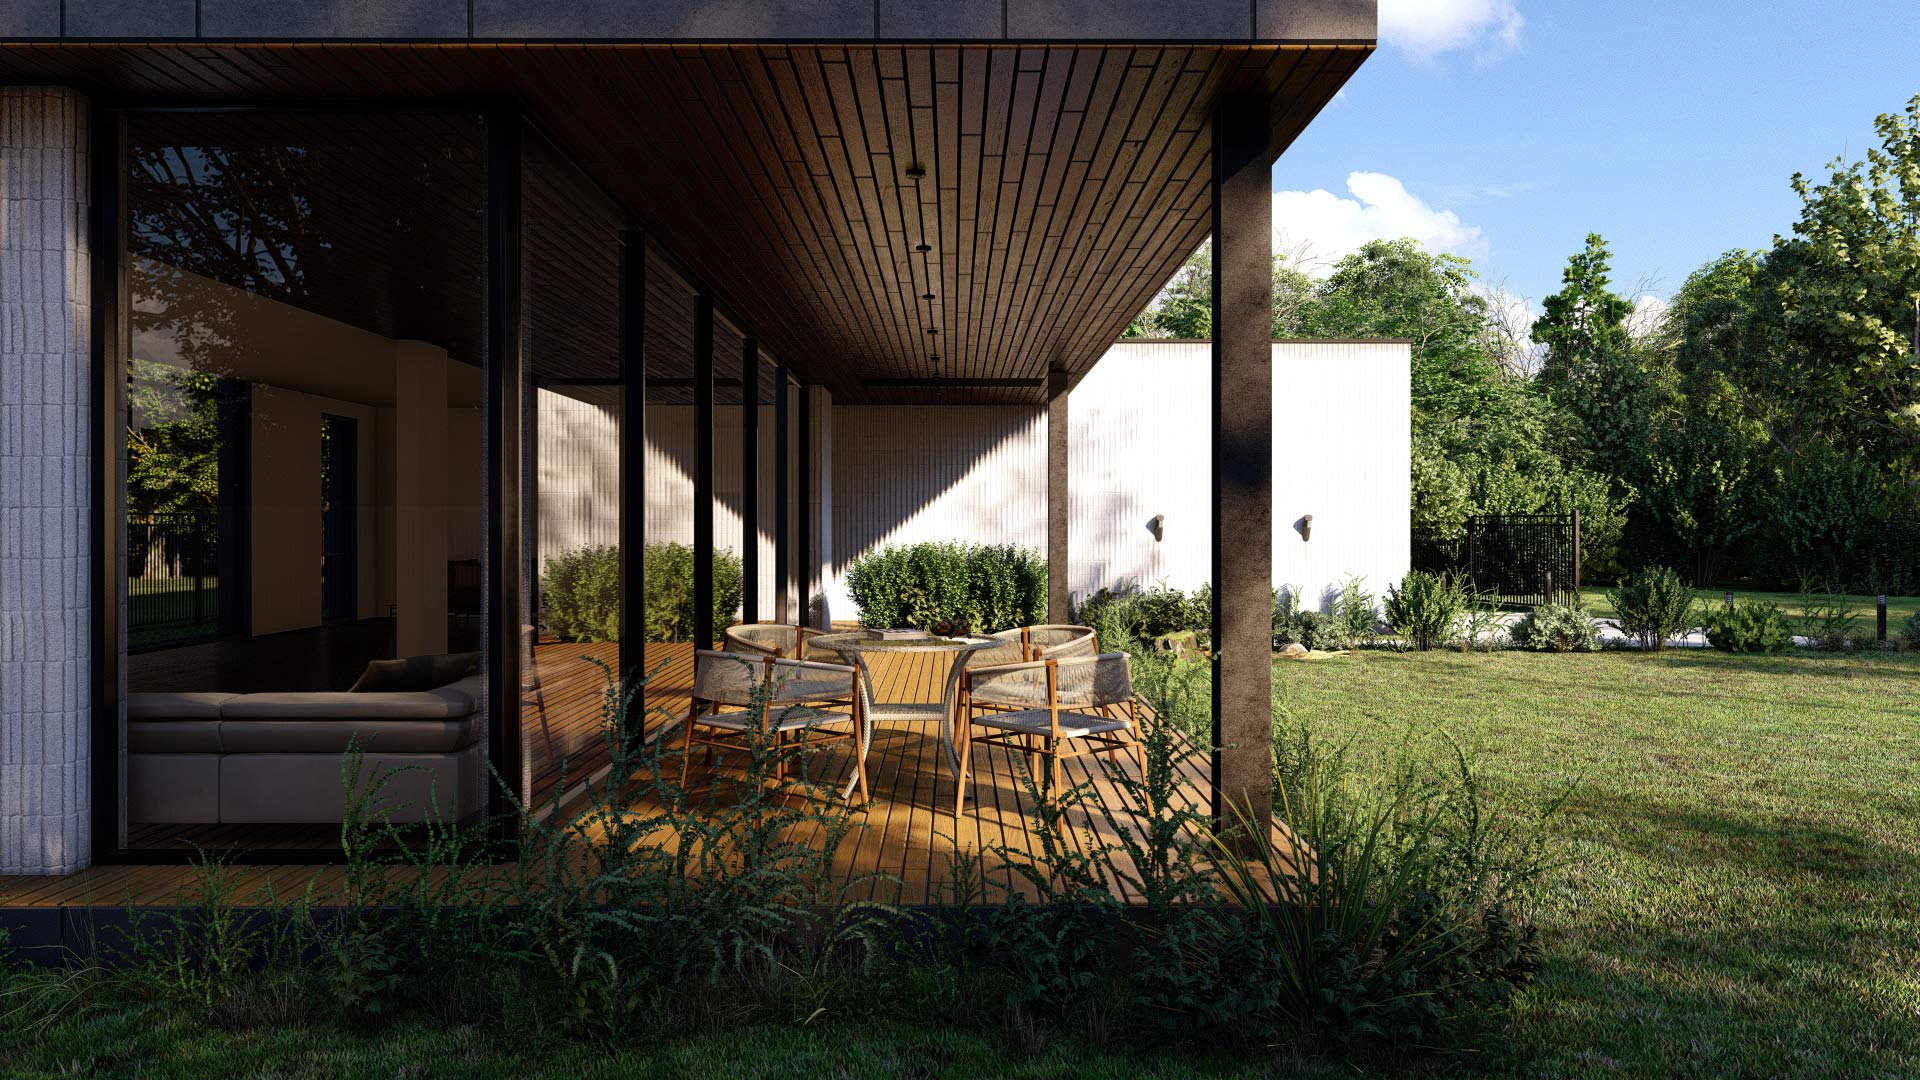
3. Capturing Wet Soil and Garden Details The garden presented its own challenges. The goal was to recreate the look of damp, freshly rained-on soil with scattered water droplets.
Material Layers:
Used Corona’s Layered Material to blend soil textures with wet spots.
Added reflective properties to mimic glistening patches.
Vegetation:
Applied subtle translucency to leaves, enhancing their interaction with light.
Increased reflectivity to simulate the sheen of raindrops clinging to surfaces.
4. Realistic Roof Shingles Recreating the wet roof required meticulous attention to detail.
Base Texture:
Used high-resolution shingle textures with appropriate bump and displacement maps.
Wet Effect:
Applied a similar technique to the asphalt by blending dry and wet areas using masks.
Specular Highlights:
Enhanced the specular layer to create realistic reflections from water pooling in shingle grooves.
5. HDRI Selection for Post-Rain Glow. Choosing the right HDRI (High Dynamic Range Image) was pivotal for this project. The challenge was to find an HDRI that balanced soft, diffused lighting with the warm glow of a setting sun.
Selection Process:
Tested multiple HDRIs, prioritizing those with overcast skies and subtle sunlight.
Adjustments:
Tweaked the HDRI’s rotation and intensity to position the light source perfectly.
Used Corona’s Sun and Sky system in tandem for additional control.
6. Corona’s Volume Material for Atmospheric Depth To enhance the post-rain ambiance, I incorporated subtle volumetric fog. This added depth and softened distant elements.
Settings:
Adjusted the density and distance values to maintain realism without overpowering the scene.
Light Interaction:
Ensured the fog interacted naturally with the HDRI lighting.
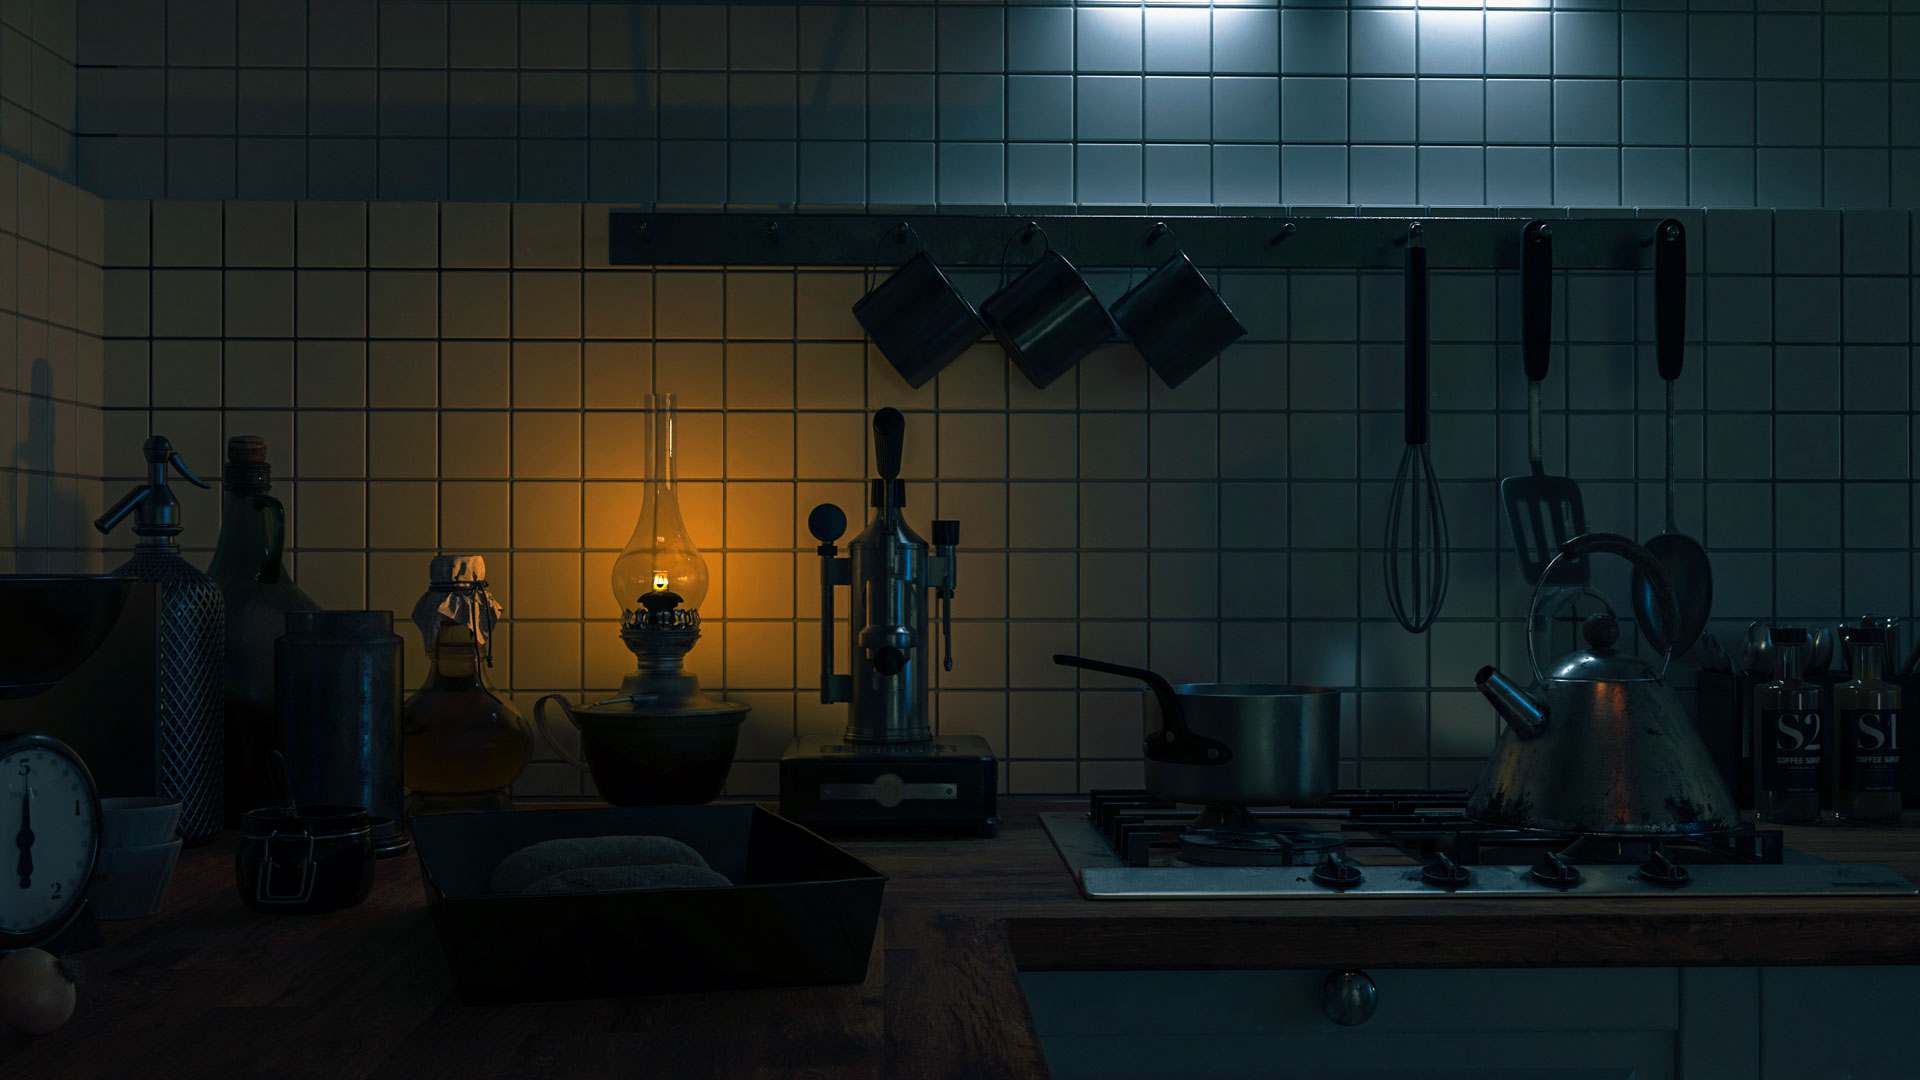
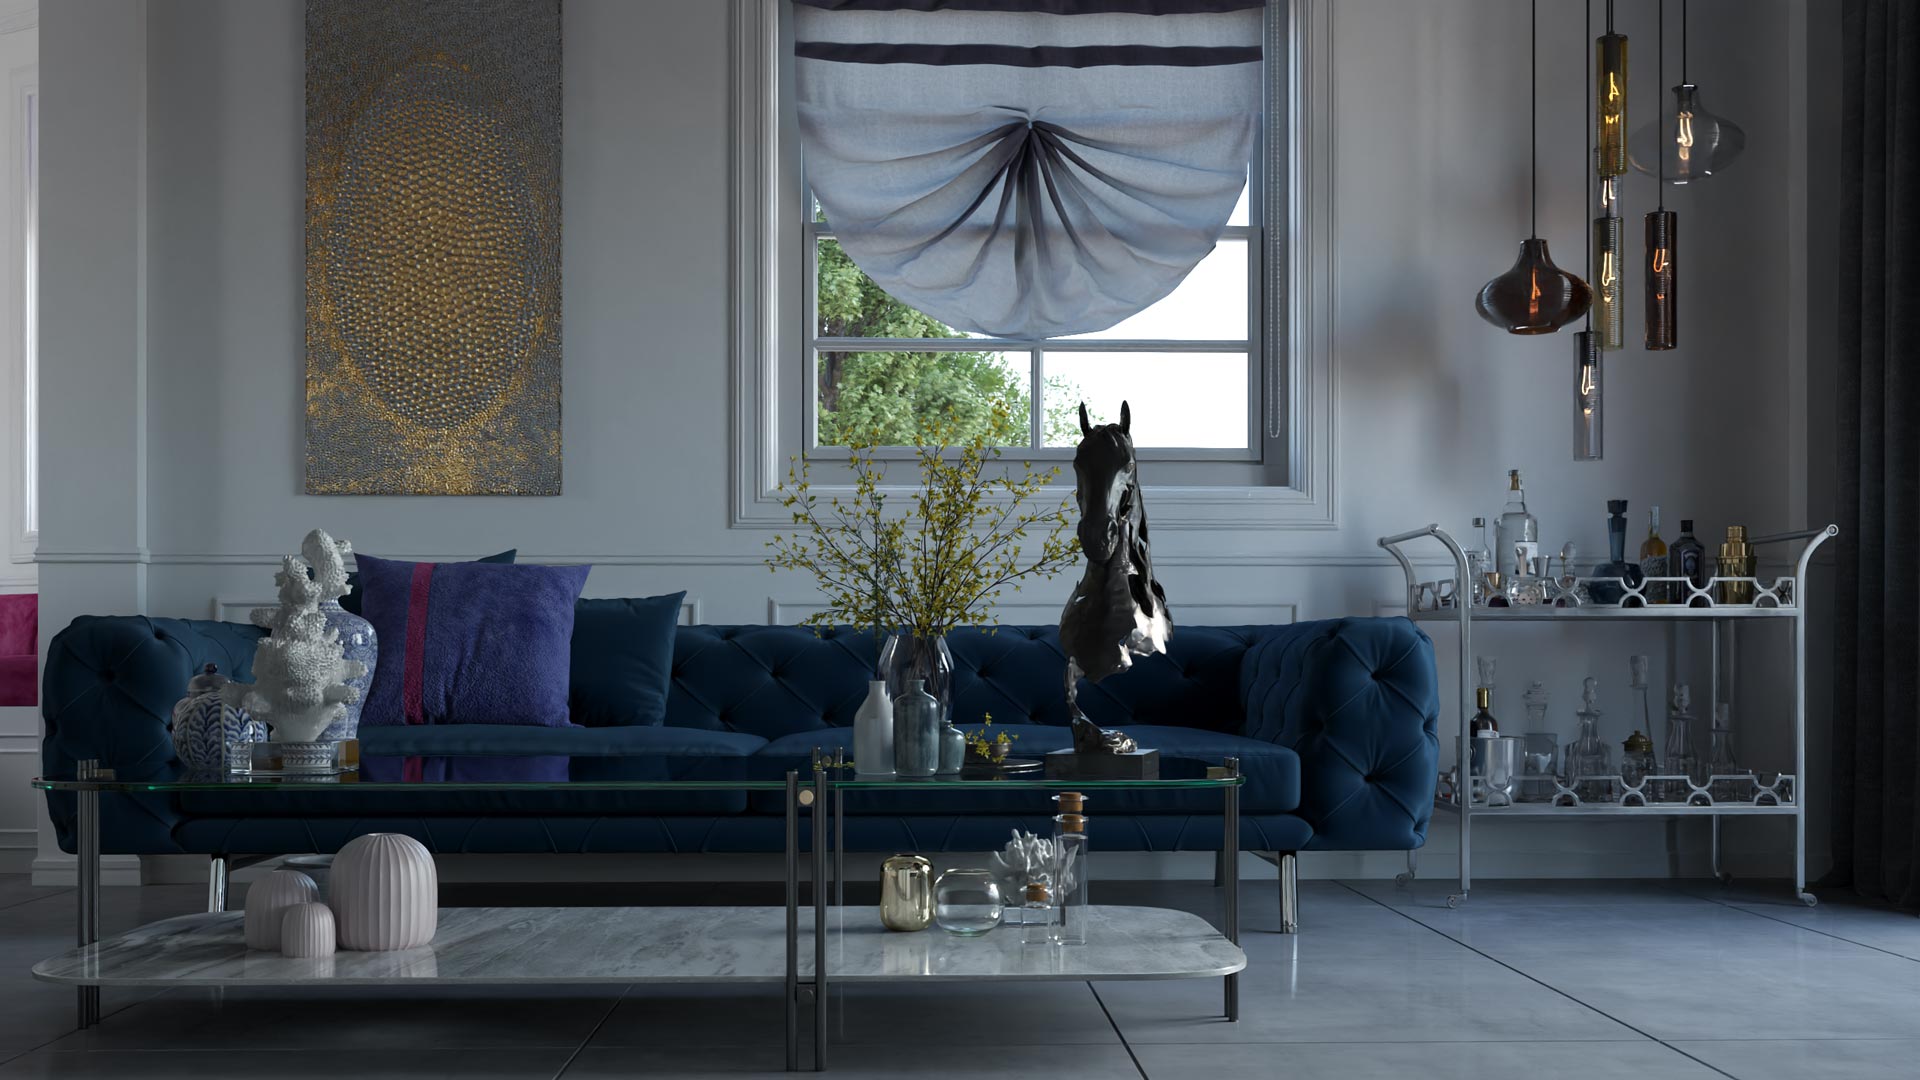
7. Window Glows and Interior Lighting The villa’s warm interior lighting contrasts beautifully with the cool, wet exterior. Achieving this required careful planning:
Lighting Fixtures:
Placed Corona Light objects inside the villa to simulate practical light sources.
Temperature Settings:
Adjusted light temperatures to emit a warm, inviting glow.
By using warm interior lighting against the cool, wet exterior, this design effectively highlights the contrast between two distinct worlds. The warm light from within spills out through the windows, creating an inviting and comfortable ambiance. In contrast, the cold, rainy exterior enhances this feeling of warmth and balance. This juxtaposition not only invites the viewer into the space but also emphasizes the calm and welcoming atmosphere that follows the rain, where the interior’s warmth offers a retreat from the cool, damp world outside.
8. Balancing Reflections and Refractions Reflections play a significant role in conveying wetness. Corona Renderer’s robust material editor made this possible:
Reflection Layers:
Fine-tuned glossiness to create realistic water reflections on various surfaces.
Refraction:
Added subtle refraction to puddles for enhanced realism.
Used Corona’s built-in denoiser to retain detail while minimizing noise.
Passes:
Rendered multiple passes (e.g., reflection, refraction) for greater control during post-production.
10. Post-Production in Photoshop Post-production was crucial for enhancing the mood of the scene:
Color Grading:
Applied subtle adjustments to highlight contrasts between warm lights and cool shadows.
Water Droplets:
Added fine rain droplets on windows and surfaces for extra detail.
11. Lessons Learned from YouTube Tutorialsp Throughout this project, I learned several valuable lessons that played a crucial role in enhancing the final result.
Refining Wet Materials:
One of the most impactful lessons was fine-tuning the wet asphalt and soil materials. By using the Reflection Glossiness map and adding noise maps for puddles, I was able to create more realistic, uneven wetness. This refinement made a huge difference in the overall realism of the scene.
Lighting Choice:
I also learned the importance of HDRI selection and Corona Sun and Sky adjustments. After testing multiple HDRIs, I found that a soft, overcast image with subtle sunlight was perfect for creating the post-rain glow. Adjusting the HDRI’s rotation and intensity made the lighting feel more natural and atmospheric.
Interior-Exterior Contrast:
Balancing the warm interior lighting with the cool, damp exterior was another key lesson. By adjusting Corona Light objects and their temperature, I achieved a comfortable, inviting glow inside the villa, which contrasted beautifully with the rainy atmosphere outside.
Using Volumetric Fog:
The use of Corona’s Volume Material added depth and atmosphere to the scene. A subtle fog effect in the background created a sense of distance without overwhelming the scene, enhancing the post-rain ambiance.
Denoising and Render Passes:
Finally, optimizing render settings and using Corona’s built-in denoiser helped retain fine details while minimizing noise. Rendering multiple passes gave me greater control during post-production and contributed to the final quality of the image.
12. Final Results and Reflection The completed render successfully captures the serene, rainy-day atmosphere I envisioned. Corona Renderer’s powerful features, combined with a methodical approach to materials, lighting, and post-production, brought this scene to life.
Conclusion This project underscores the importance of attention to detail and the incredible potential of Corona Renderer for creating photorealistic rainy-day scenes. By combining foundational models, such as those from Render Camp, with advanced rendering techniques, it’s possible to elevate any scene to new heights of realism.